Five Small Experiments to Build a Consistent Pour-Over Coffee Routine
Pour-over coffee is wonderfully forgiving when you work slowly and notice patterns. Rather than chasing a perfect recipe, try a series of small experiments that each focus on one variable. Below are five short experiments you can do over a week or in a single relaxed afternoon. Each experiment lists common mistakes you may encounter and clear corrections to try. Keep a notebook or phone timer to record what you observe.
What to have ready
- Freshly roasted coffee beans (use the same beans throughout these experiments)
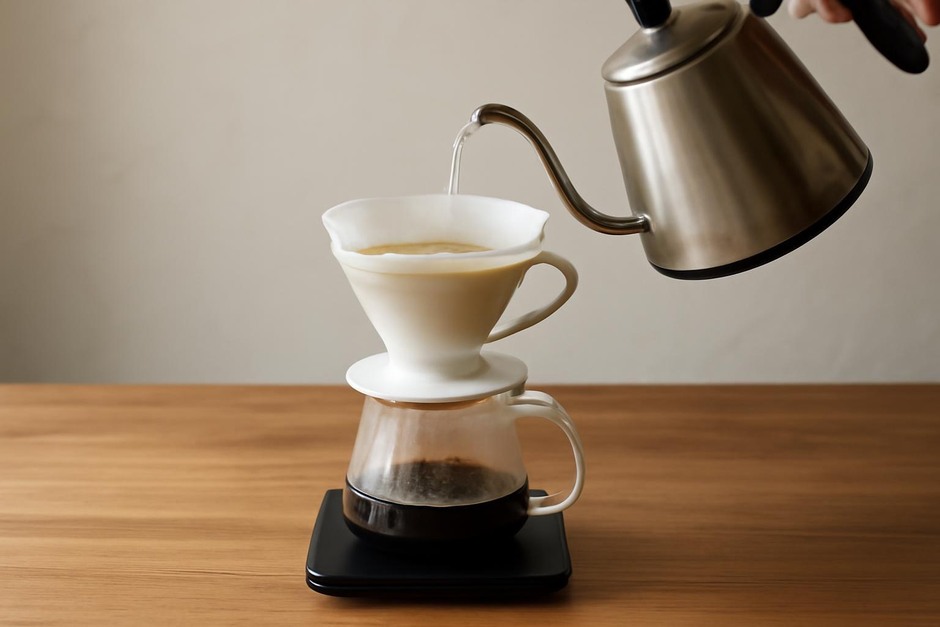
- A burr grinder, scale, gooseneck kettle, pour-over dripper, and paper filters
- Timer and a notebook or phone notes
- Clean water near room temperature (tap water that tastes good is fine)
Experiment 1 — Find the grind size that clears the cup
Objective: Learn how grind size affects extraction speed and cup clarity.
- Method: Brew three 200 ml pours with the same dose (15 g coffee) and the same total brew time target (about 2:30 to 3:30). Use a coarse, medium, and fine grind for each trial.
- What to look for: Taste balance, bitterness, sourness, and how quickly the water drains.
- Common mistake: Assuming a single grind suits all equipment. If the cup tastes thin, the grind is likely too coarse; if it’s overly bitter, it’s likely too fine.
- Correction: Adjust the grinder one notch toward finer or coarser and repeat. Aim for a cup that isn’t flat nor harsh—note which grind felt best for your dripper and filter.
Experiment 2 — Dial the dose for balance
Objective: Notice how coffee-to-water ratio affects body and flavor intensity.
- Method: Using the grind you preferred, brew three 200 ml pours with 13 g, 15 g, and 17 g coffee. Keep pouring style and time similar.
- What to look for: Strength, mouthfeel, and how well the flavors come through.
- Common mistake: Increasing dose when the cup tastes weak without considering grind or brew time. That can simply make the cup bitter.
- Correction: If the cup seems thin at 15 g, try a slightly finer grind before raising dose. If you raise dose, reduce grind coarseness slightly so extraction remains even.
Experiment 3 — Tame the bloom
Objective: Learn how bloom time and water volume for the bloom influence degassing and extraction.
- Method: With your chosen grind and dose, try three brews: a short bloom (20–25 s with 30–40 ml), a medium bloom (30–45 s), and a long bloom (60 s). Keep total brew time similar by shortening/lengthening subsequent pours.
- What to look for: Brightness and clarity in the cup. Bloom can lift trapped carbon dioxide and change extraction rhythm.
- Common mistake: Skipping bloom or pouring too much water during bloom. This can lead to uneven extraction and overly sour notes.
- Correction: Pour a modest bloom volume and let bubbles subside for at least 20–30 seconds. If your coffee is still uneven, slightly extend bloom time and note the change.
Experiment 4 — Practice pouring patterns
Objective: See how pouring speed and placement affect flow and evenness.
- Method: Try a concentric spiral pour, a center-pulsing pour, and slow steady pours along the walls of the dripper. Keep total water volume and timing consistent.
- What to look for: Channeling (fast streams cutting through the bed), uneven grounds rising, and extraction consistency.
- Common mistake: Pouring too quickly or applying water to one spot only, which creates channels and under-extracts some coffee.
- Correction: Use a slow, controlled pour and aim for even wetting. Pause occasionally to let the bed settle rather than forcing all water at once.
Experiment 5 — Adjust water temperature
Objective: Observe how water temperature shifts perceived acidity and sweetness.
- Method: Brew three cups at roughly 88°C, 92°C, and 96°C (if you don’t have a thermometer, let boiling water sit for 30–90 seconds to lower temperature). Use your established grind, dose, and pouring style.
- What to look for: Higher temps bring warmth and fuller extraction; lower temps keep acidity brighter but may taste thin if under-extracted.
- Common mistake: Assuming hotter is always better. Too-hot water can emphasize bitterness in resting or darker beans.
- Correction: Match temperature to bean roast and desired character: delicate, floral beans often do well slightly cooler; darker roasts may need slightly cooler as well to avoid harshness.
Putting it together
After these experiments, choose the combination that produced the most balanced cup for you: grind, dose, bloom, pouring pattern, and temperature. Try that recipe three times over different days to see how consistent it feels. Keep a short checklist by your setup to avoid the common mistakes you encountered—especially inconsistent grind, rushed pouring, and skipping the bloom. Small, deliberate changes and a calm notebook will make your morning pour-over a quiet, reliable ritual rather than a source of frustration.